


Starting from version 10.12.0, the Booking Calendar Pro now requires the Booking Calendar Free version to be installed first. This guide walks you through downloading, installing, and updating the paid version properly.
1. Where to Download the Latest Update
If you’ve purchased a paid version of Booking Calendar:
- You should receive a download link in your confirmation email.
- If you need to request a new download link or update, please use the Update Request Page.
Before updating, please review the conditions for receiving updates here.
2. First-Time Installation of the Paid Version
If you're installing the Booking Calendar Pro version for the first time, please follow these steps carefully:
2.1 Install the Free Version (if not already installed)
The Pro version requires the Free version to be installed first.
If you skip this step, the system will prompt you to install the Free version before activating the Pro version.
- Go to WordPress Admin > Plugins > Add New
- Search for “Booking Calendar by wpdevelop”, click Install, then Activate

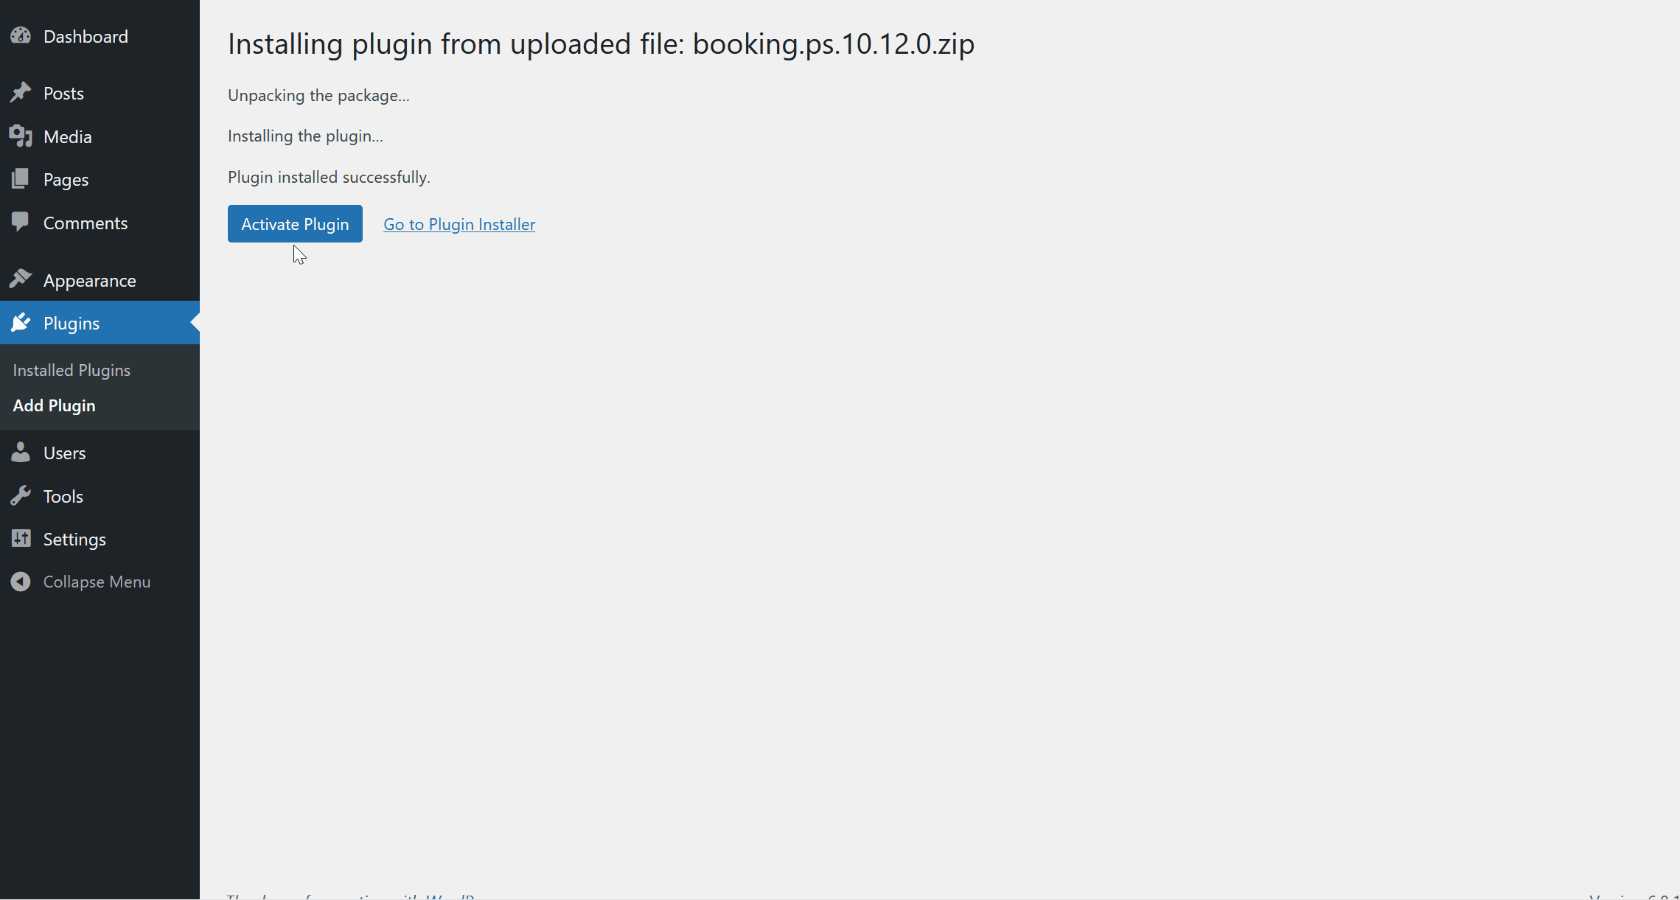
- Go to Plugins > Add New > Upload Plugin
- Choose the .zip file of your Pro version and click Install Now

- Once installed, click Activate
- If the Free version is not yet installed, the system will provide a link to install it before activation.
- The Pro version will automatically extend the Free version.
Troubleshooting.
- If you're seeing a folder full of files instead of the .zip archive, check out this troubleshooting guide.
- If you receive a message like this: 'The uploaded file exceeds the upload_max_filesize directive in php.ini', please refer to this troubleshooting instruction.
- If you prefer to upload the booking zip archive via FTP, refer to "point A" of this article for guidance.
3. Updating the Paid Version (Newer Update of Same Edition or Upgrading to Higher Edition)
3.1 Before You Update - Important Tips:
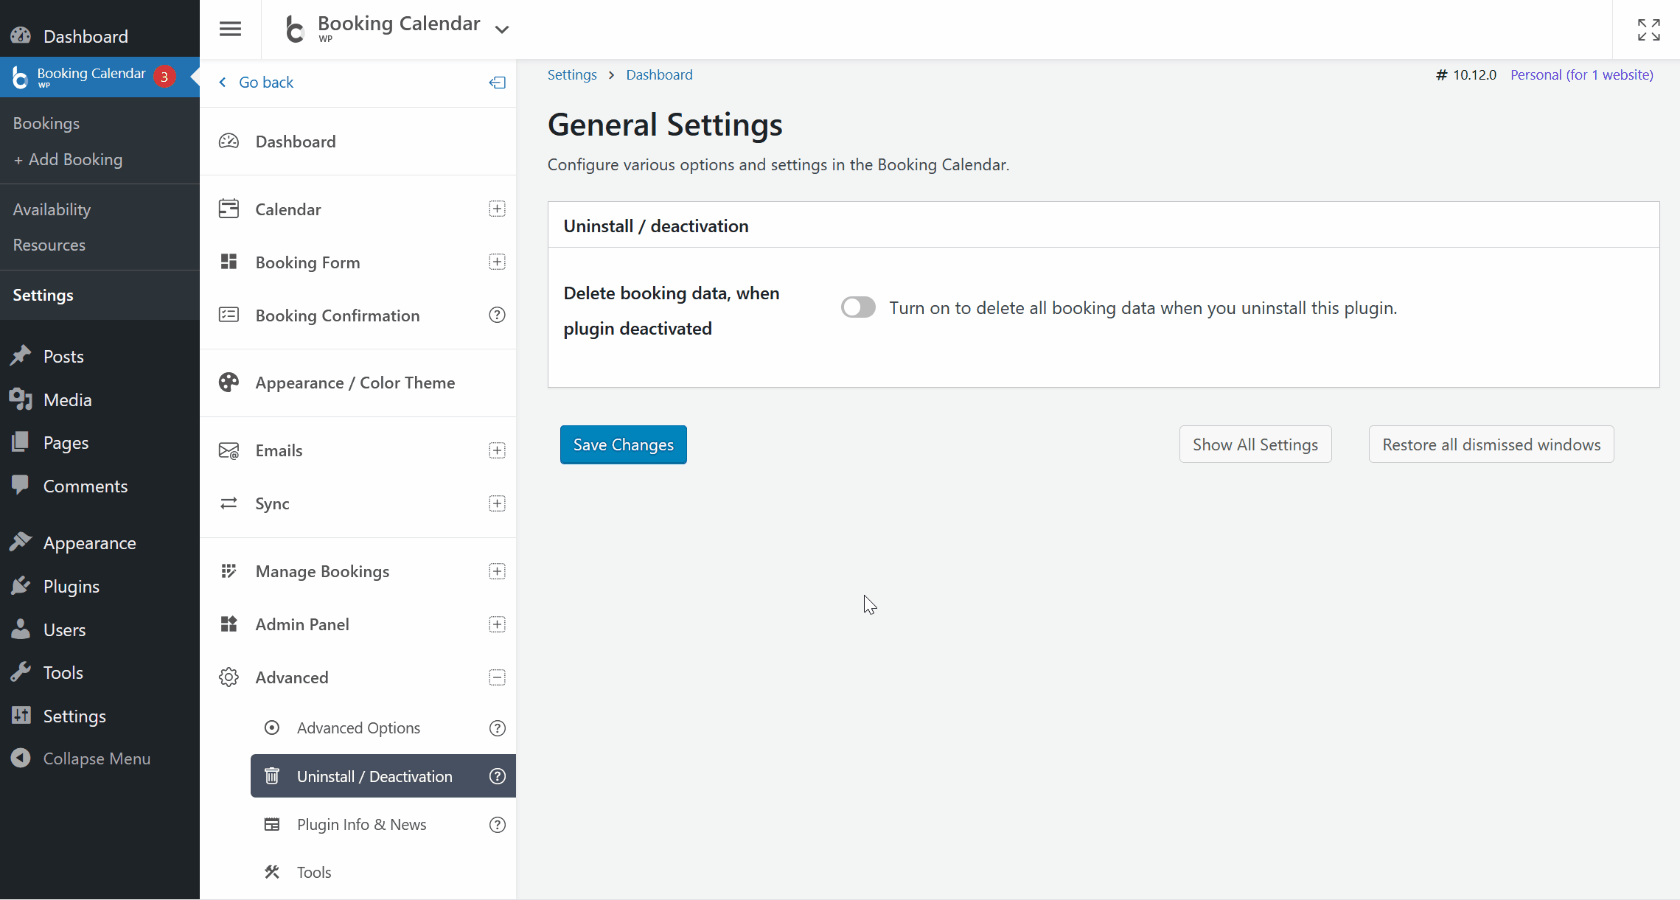
- Preserve Data Settings:
- Navigate to WP Booking Calendar > Settings > General > Uninstall / Deactivation section.
- Make sure "Delete booking data when plugin deactivated" is unchecked. This prevents your booking data from being deleted.

- Custom Code Warning: If you’ve modified any plugin files (PHP, CSS, JS), those changes will be overwritten during the update. Back up your changes or reapply them afterward.
- Backup Recommended: Back up your WordPress database and the folders: /wp-content/plugins/booking/, /wp-content/plugins/booking-calendar-com/. Note: In older paid versions, the folder name may differ, e.g. booking.bs.10.11.4

After downloading the updated .zip file of your paid version:
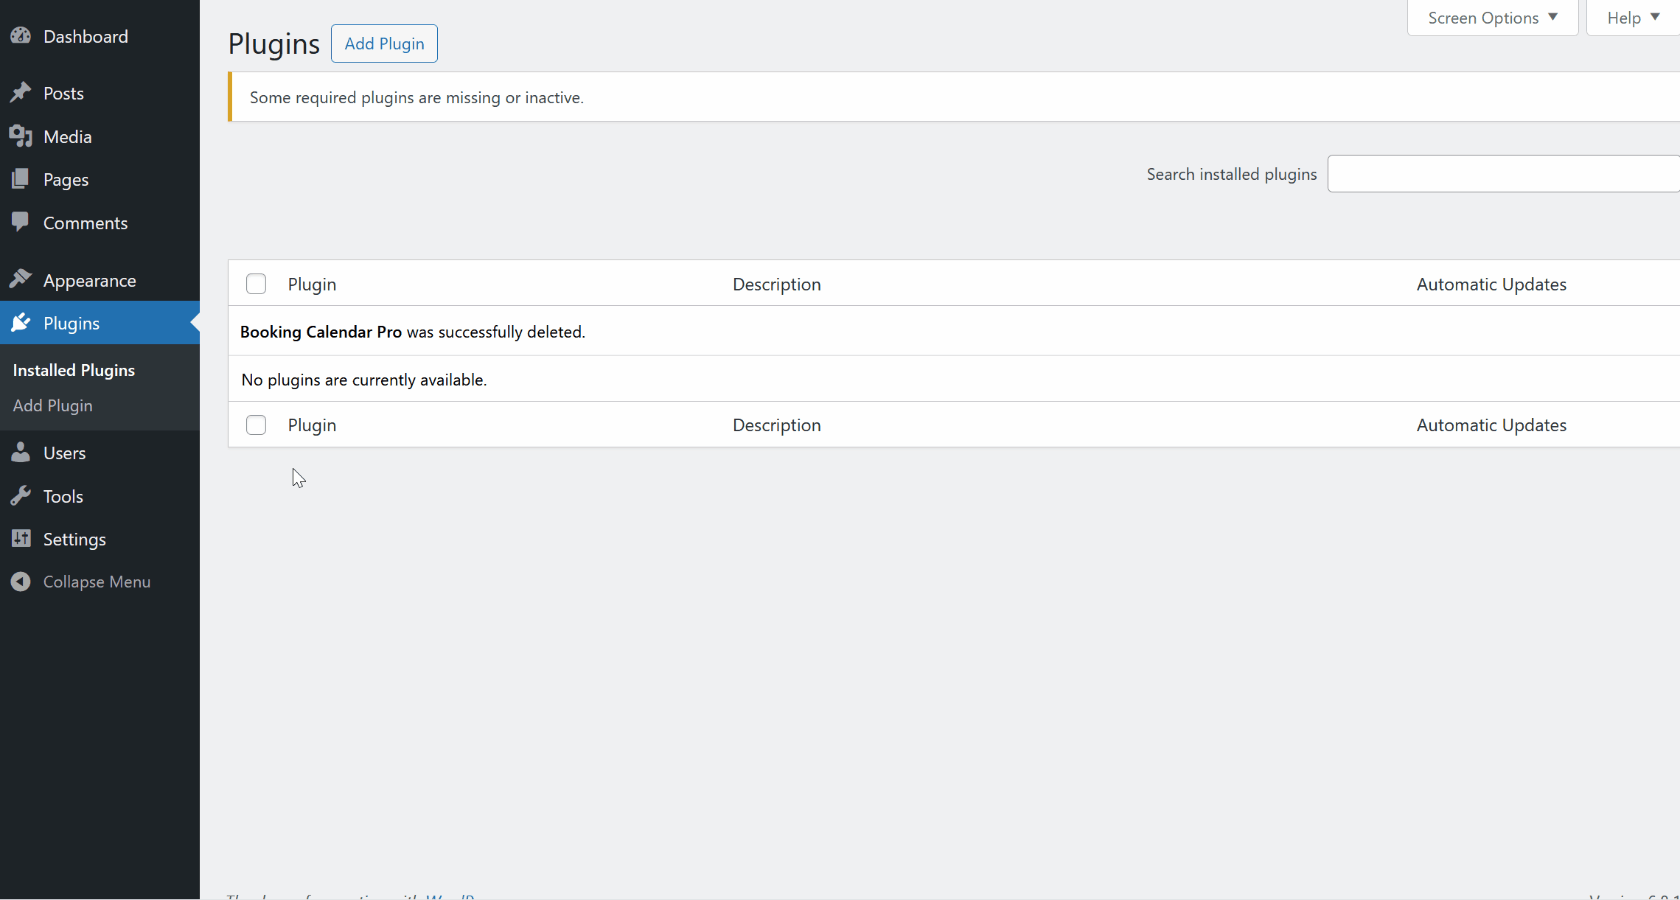
- Navigate to Plugins > Installed Plugins.
- Click Deactivate under the current paid Booking Calendar version.
- Then click Delete to remove the old version.
- If you were using Booking Calendar version 10.11.4 or older, you will likely see only the old paid version without the Free version. In this case, you must deactivate and delete the old version before installing the new Pro version.
- Follow step 2.2 Install the Pro Version above, or proceed with the following:
- Go to Plugins > Add New > Upload Plugin page.
- Upload the new .zip archive you downloaded.
- Click Install Now, then Activate.

Troubleshooting.
- If you're seeing a folder full of files instead of the .zip archive, check out this troubleshooting guide.
- If you receive a message like this: 'The uploaded file exceeds the upload_max_filesize directive in php.ini', please refer to this troubleshooting instruction.
- If you prefer to upload the booking zip archive via FTP, refer to "point A" of this article for guidance.
Clear your browser cache after activation to avoid interface issues.
What's Next?
- Read the general instructions on using paid versions of Booking Calendar.
- Create different booking resources (unique calendars) for your properties or services at the Booking > Resources page. Check more here.
- Learn how to insert booking forms or availability calendars for specific booking resource on your pages here.
- Explore the main features and configuration options here.
- For additional information, refer to our FAQ.